The top 10 yoga poses to enhance your flexibility and improve your daily life. These carefully selected poses help healthy and strengthen your muscles, promoting better feeling and reducing stress. These poses(asanas) are perfect for changing into your daily routine to achieve a more flexible and light on one’s feet body. When you are a beginner or experienced in yoga.
Nowadays, maintaining body flexibility is not just a simple. It’s a necessity for a healthier and more balanced life. If you’re sitting all day at a desk, simply looking to improve your overall well-being, increasing your flexibility can make everyday tasks easier and more enjoyable. But where do you start? Our maintenance, “Top 10 Yoga Poses to Make You More Flexible in Daily Life,” is here to help. We’ve carefully selected these yoga poses to target key muscle groups, reduce stiffness, and enhance your range of motion. By incorporating these stretches into your daily routine, you’ll not only improve your physical flexibility but also experience a greater sense of mental clarity and relaxation.
Here, are some asanas that are best for beginners and give fast results in flexibility in our daily life.
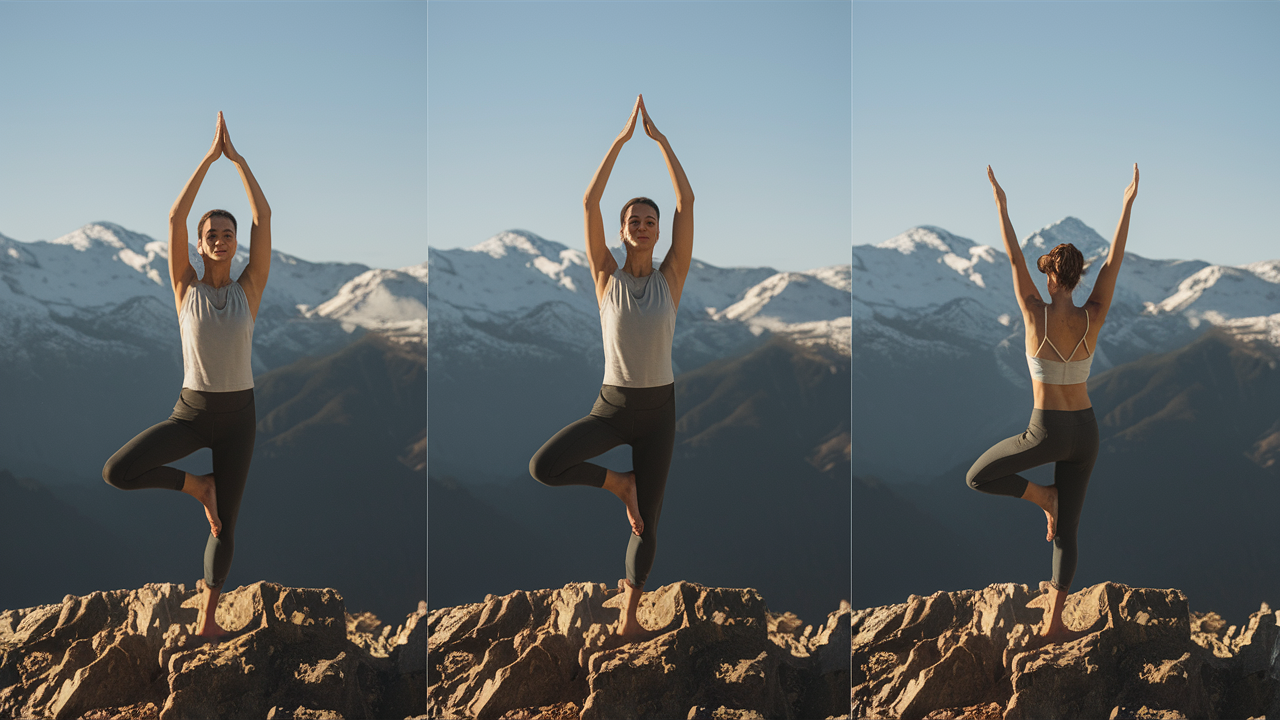
The journey of yoga for beginners can be both exciting and discouraging. Mountain pose (Tadasana) is more important in physical exercise. especially for beginners, this is an easy step to starting yoga asanas. The same benefits of mountain pose are:-
Improve Flexibility and Strength: Regular practice of Tadasana stretches and strengthens the muscles, helping to improve overall flexibility and strength. This can make everyday activities easier and reduce the health problem.
Balance Mental Clarity and Focus: Yoga helps to make mindful breathing and awareness, which can also help clear the mind and improve concentration. This mental clarity can be beneficial in making better decisions.
Relaxation and Stress Relief: The regular effects of Tadasana can help reduce stress and promote relaxation. Tadasana helps Deep breathing and gentle movements activate the body’s relaxation feedback.
Here are the 5 steps of Mountain pose(Tadasana
Stand upright keeping 2 inches distance in your feet.
Up your arms in front of your shoulders.
Lock your double-hand fingers and rotate as you’re comfortable.
Hold the position while breathing deeply for 10-25 seconds.
Release your body after you feel over.
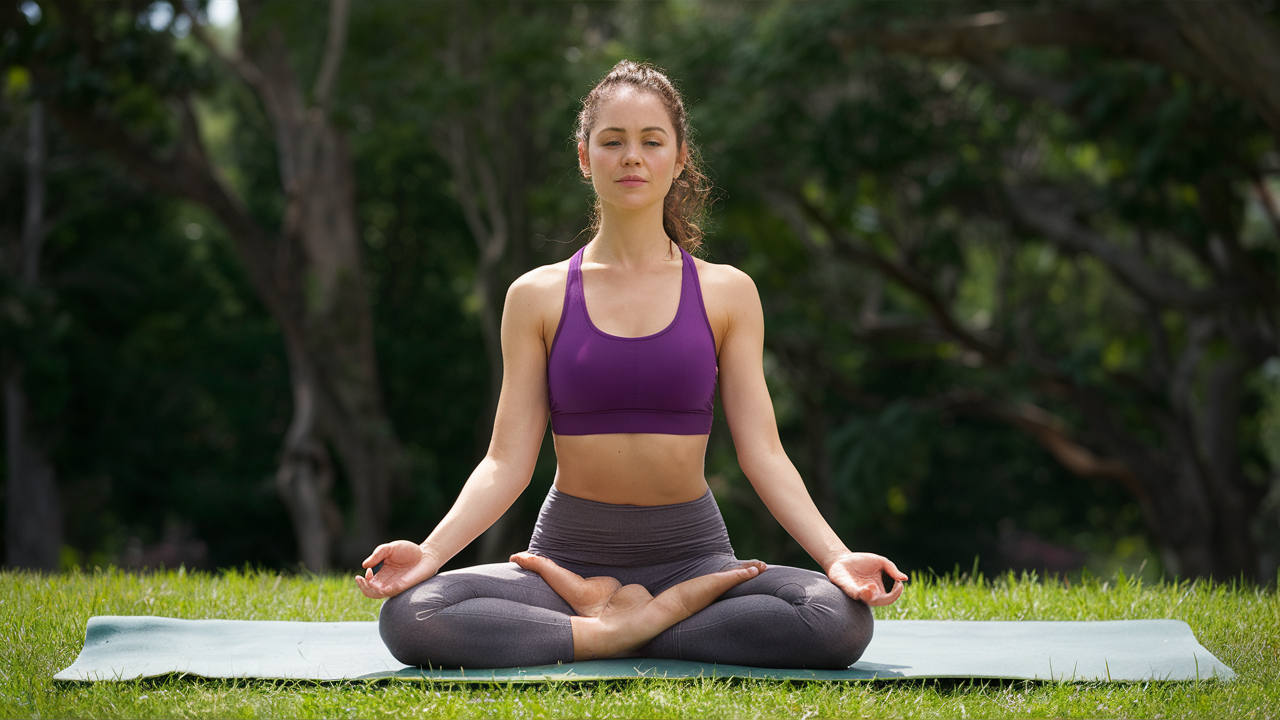
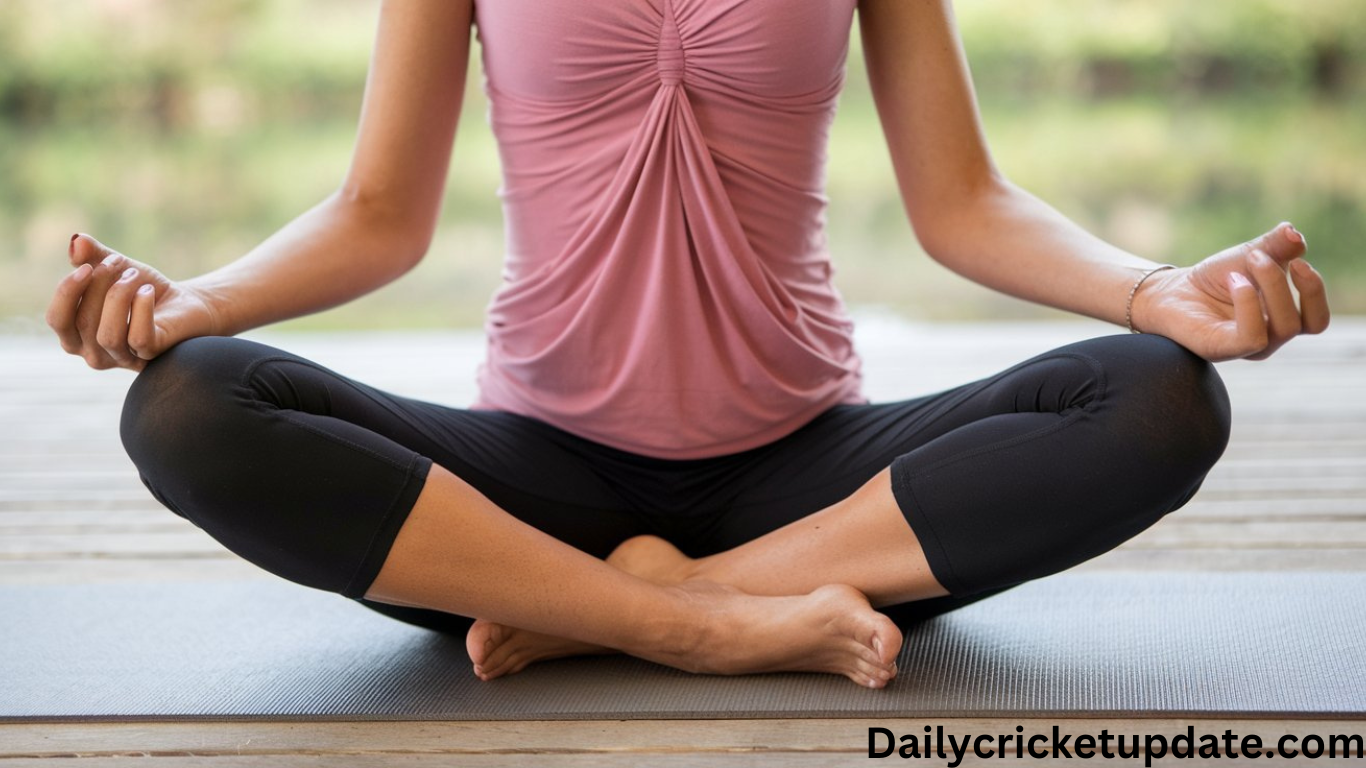
2. Easy pose (Sukhasana)
2. Easy pose (Sukhasana)
Easy pose(Sukhasana) means “Ease” Anyone can do it easily and feel comfortable doing this pose. Easy pose is the basic pose in yoga it is mostly for beginners. However, the Easy pose targets the Ankle, Knee, and Back. Here the benefits of easy pose are represented by these points.
Promotes relaxation: It helps deep breathing not only increase your oxygen intake but also helps to reduce tension.
Reduces stress: The regular effects of Sukhasana can help reduce stress and promote relaxation.
Improves mental clarity: Sukhasana helps to make mindful breathing and awareness, which can also help clear the mind and improve concentration. This mental clarity can be beneficial in making better decisions.
3. Cat pose (marjaryasana)
3. Cat pose (marjaryasana)
Step-by-Step Instructions for Cat Pose
Start on your hands and knees, with your wrists directly under your shoulders and your knees under your hips.
Inhale: Look up towards the ceiling, arch your back, and lower your belly towards the ground.
Exhale: Tuck your chin to your chest, round your spine, and pull your belly button towards your spine.
Repeat: Inhale as you arch your back and look up, then exhale as you round your spine and look down.
Continue these movements for a few breaths, moving slowly and with awareness.
When you’re ready to finish, return to the neutral tabletop position.
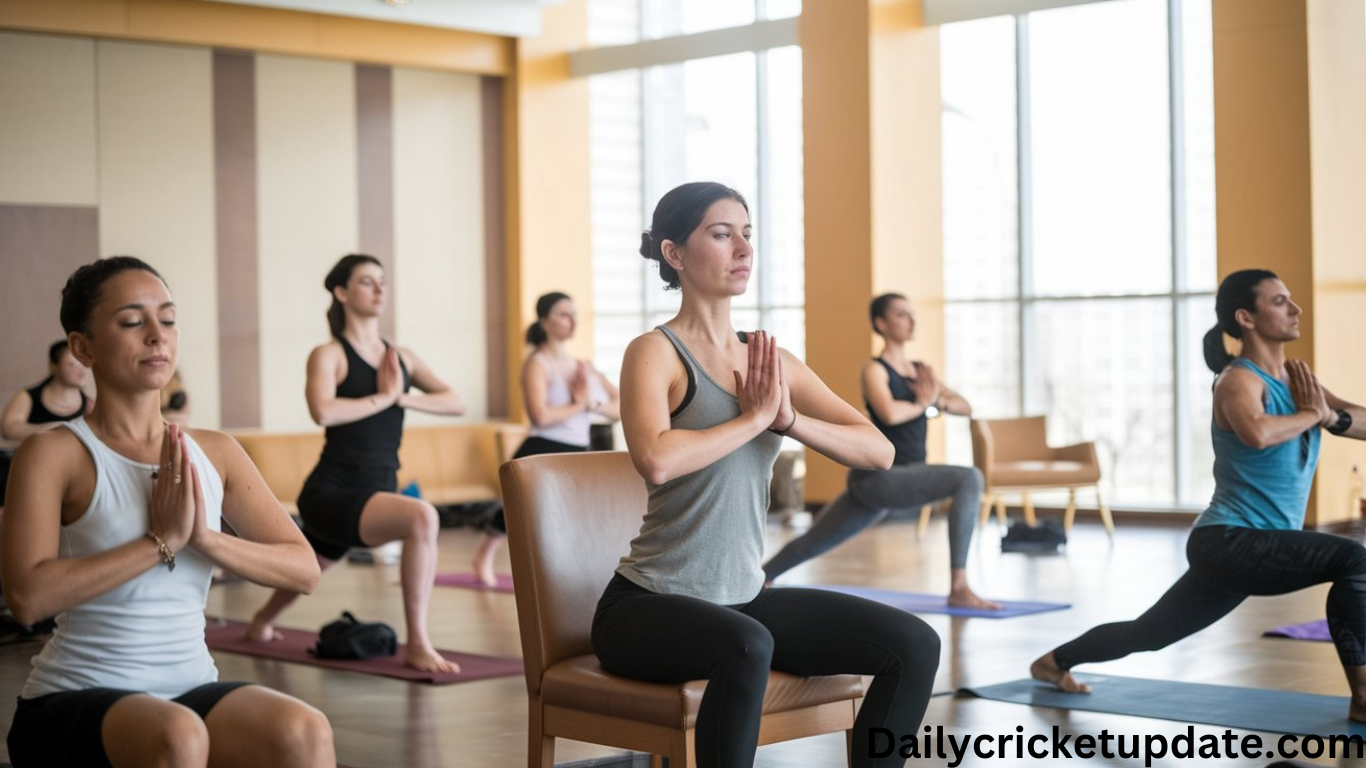
4. Chair pose(Utkatasana)
4. Chair pose(Utkatasana)
Step-by-Step Guide to Chair Pose (Utkatasana)
Step 1: Raise Your Arms Overhead
How to do it: Inhale deeply and stretch your arms above your head. Keep your arms shoulder-width apart, with your palms facing each other. Lengthen through your fingertips without lifting your shoulders.
Advantage: Raising your arms opens your chest and shoulders, which can improve lung capacity and help with better breathing. It also engages your upper back and shoulders, helping to relieve tension and stiffness.
Step 2: Lower into the Chair Pose
How to do it: Exhale as you bend your knees and push your hips back as if sitting on an invisible chair. Keep your knees behind your toes, and sink your hips low until your thighs are nearly parallel to the floor. Your chest should stay lifted, and your gaze forward.
Advantage: This step works your legs, glutes, and core intensely, strengthening your quadriceps, hamstrings, and calves. It also engages the spine and lower back, improving core stability and posture.
Step 3: Hold the Pose and Breathe
How to do it: Hold the position for 5–10 deep breaths. Focus on keeping your weight evenly distributed in your heels. Engage your core and maintain a straight spine while breathing deeply.
Advantage: Holding Utkatasana builds muscle endurance and increases stamina. The deep breathing helps to relax the nervous system, promoting mental focus and calmness.
Additional Benefits of Chair Pose (Utkatasana)
Strengthens Multiple Muscle Groups:
Improves Balance and Coordination:
Increases Cardiovascular Activity:
Boosts Focus and Concentration:
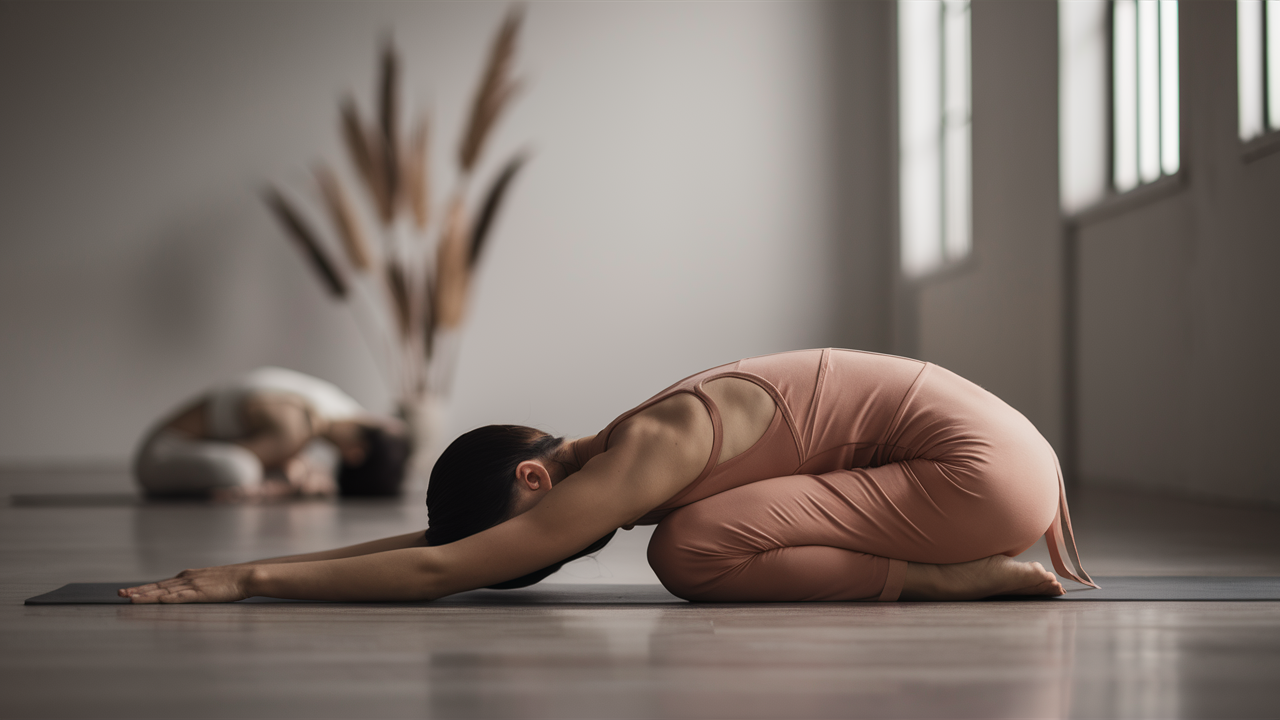
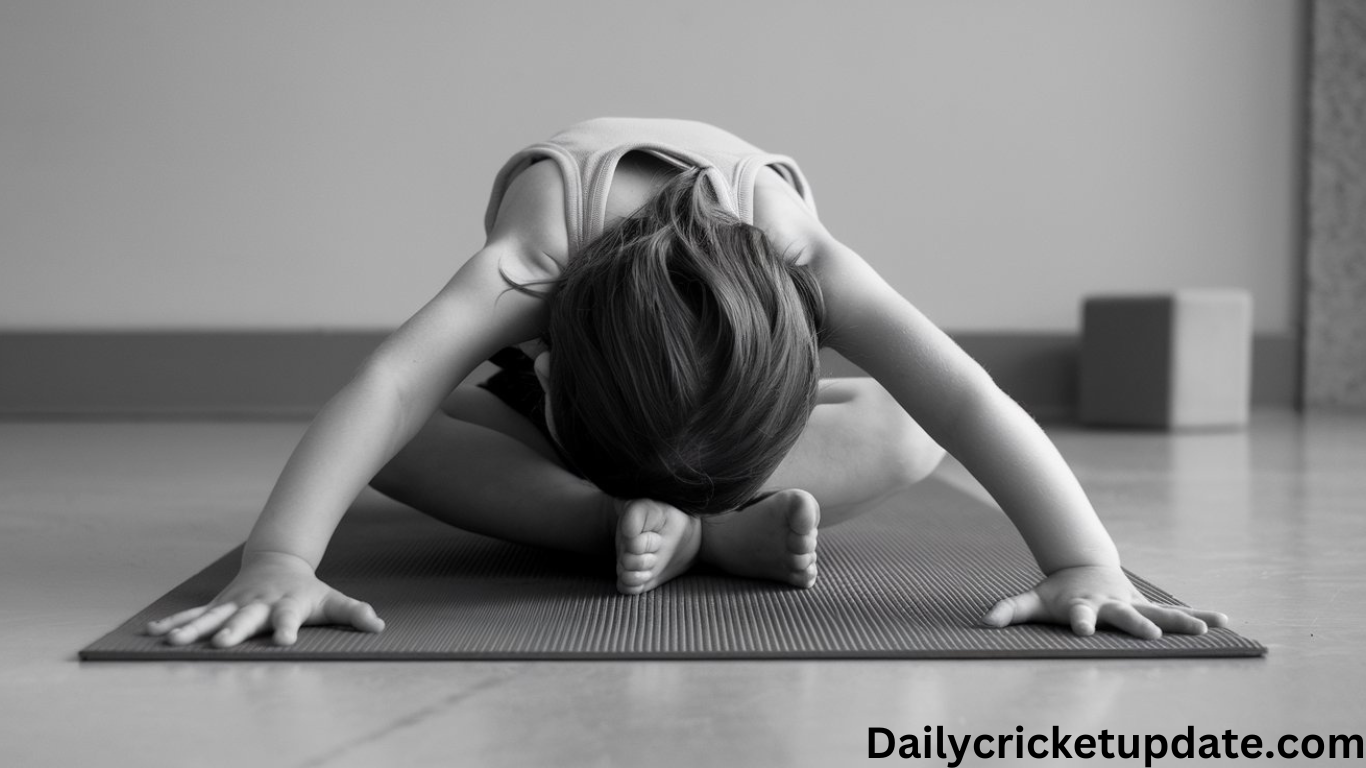
5. Child’s Pose (Balasana)
5. Child’s Pose (Balasana)
Balasana, or Child’s Pose, is a gentle yoga asana that promotes relaxation, relieves tension, and stretches the body. Follow this easy guide to practice Balasana effectively.
Step 1: Begin on Your Hands and Knees (Tabletop Position)
Step 2: Widen Your Knees Gently
Step 3: Lower Your Stomach Between Your Thighs
Step 4: Stretch Your Arms Forward or Place Them by Your Sides
6. Baby pigeon pose(kapotasana)
6. Baby pigeon pose(kapotasana)
Step-by-Step Instructions for the Baby pigeon Pose
Start in a tabletop position with your hands and knees on the mat.
Bring your right knee forward and place the outer edge of your right shin and right buttock on the mat.
Stretch your left leg back, with the top of your left knee, thigh, and ankle resting on the floor.
Lower your hips toward the mat and press your palms into the floor, keeping your arms straight.
Lift your chest and create a gentle backbend.
Hold the pose for a few breaths, feeling the stretch in your hips.
To move into resting pigeon pose, fold forward and bring your forehead toward the mat.
To deepen the stretch, you can reach back with your left hand and grab your left foot, entering the one-legged king pigeon pose.
7. Cobra Pose (Bhujangasana)
Cobra Pose (Bhujangasana)
Step-by-Step Instructions for the cobra Pose
Lie on your stomach with your legs stretched out behind you and the tops of your feet resting on the floor. Keep your legs close together, with your feet and heels lightly touching.
Place your hands under your shoulders, palms facing down, and keep your elbows close to your body.
Inhale and slowly lift your head, chest, and abdomen off the floor, but keep your navel touching the ground.
Pull your shoulder blades back toward each other, and lift your chest without pushing your ribs forward to protect your lower back.
Move the tops of your thighs and knees back while pressing your upper arms toward each other. Keep your shoulders wide and relaxed.
Evenly distribute the backbend through your entire spine. Hold the pose for 15 to 30 seconds while breathing steadily.
Exhale as you slowly lower yourself back to the floor to release the pose.
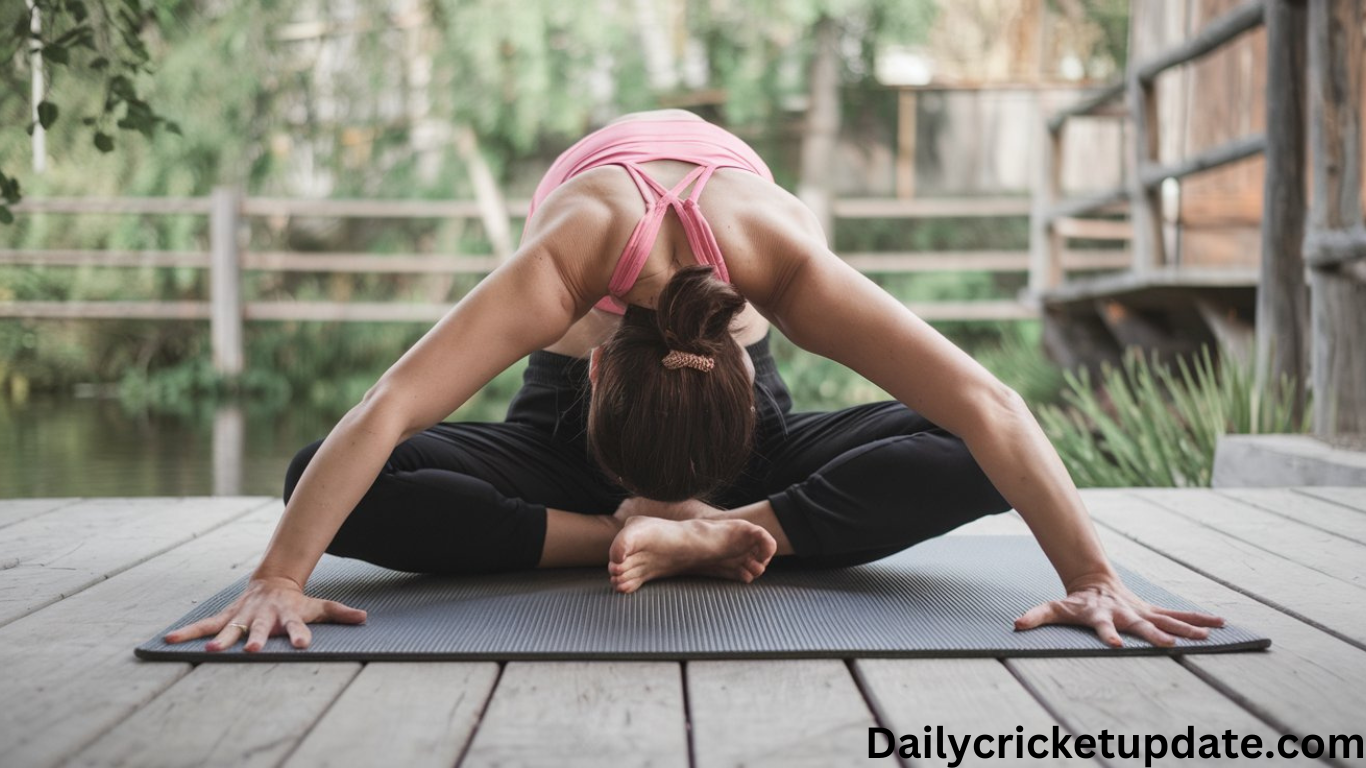
8. Butterfly Pose (Baddha Konasana)
8. Butterfly Pose (Baddha Konasana)
Step-by-Step Instructions of Butterfly pose:
Start by sitting in Dandasana (Staff Pose), with your legs stretched out straight in front of you.
Inhale: Reach forward and hold your feet or ankles with your hands.
Move your heels toward your groin as close as you comfortably can.
Exhale: Slowly lower your knees toward the floor.
Inhale: Bring your ankles even closer to your groin.
Exhale: Gently lower your hips down, letting your knees get closer to the floor, but be careful.
Keep breathing: Inhale and exhale while holding this stretch for about 6-8 breaths, feeling the stretch in your inner thighs.
Inhale: Relax your hips and release your hands from your feet.
Exhale: Stretch your legs out and return to Dandasana, sitting with legs straight.
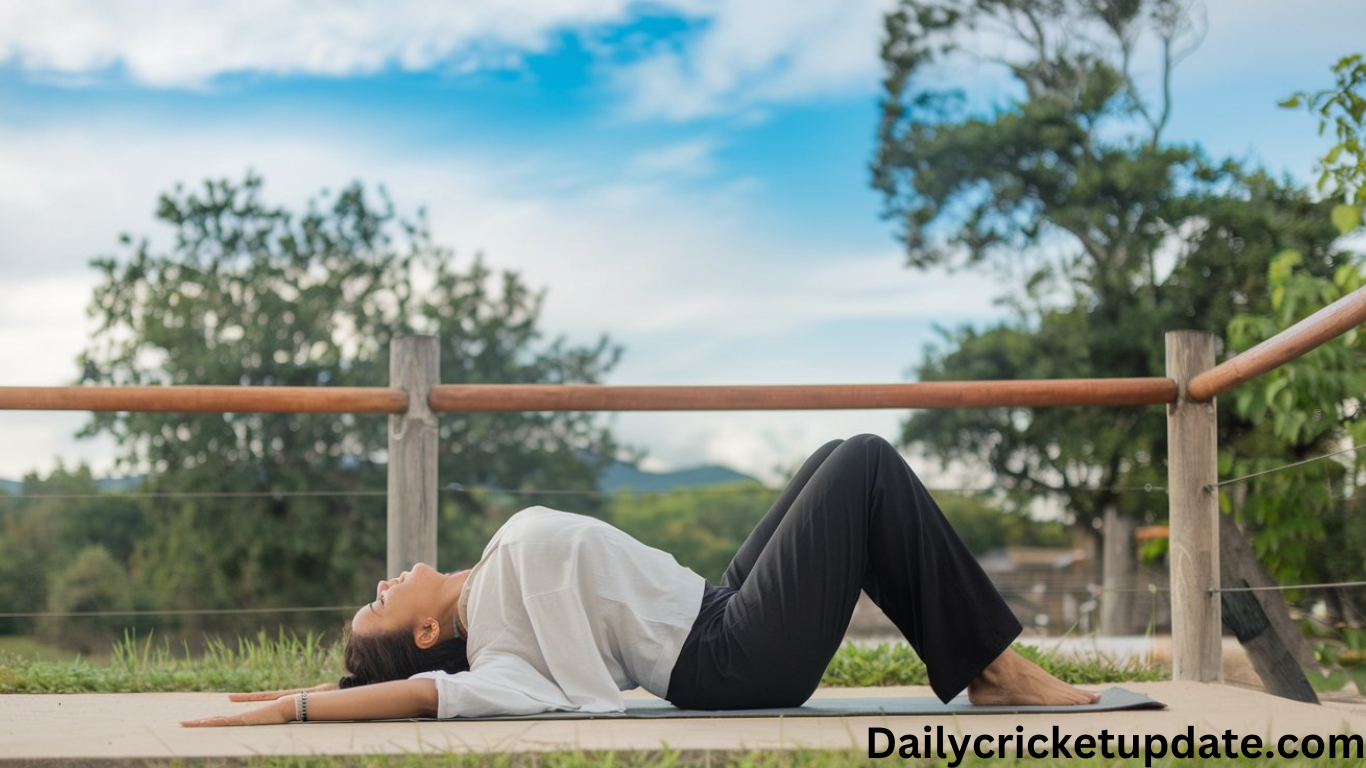
9. Bridge Pose (Setu Bandhasana)
9. Bridge Pose (Setu Bandhasana)
How to Do Bridge Pose
Lie on your back with your knees bent and feet flat on the mat, keeping them hip-distance apart.
Move your feet closer to your hips (glutes) as much as you can.
Place your arms beside your body with your palms facing down.
Take a deep breath and push your feet firmly into the mat. As you do this, slowly lift your hips. Start lifting from your lower belly, near your pubic bone, not from your belly button.
Press your upper arms into the mat. If you can, bring your hands together under your back and press your pinky fingers into the mat.
Widen your chest by rolling your shoulders back and down. Keep your feet strong and your thighs close together, without touching.
Keep your spine long by reaching your thighs toward your knees.
To finish, exhale and slowly lower your hips back to the mat, releasing your hands.
Why is flexibility so important in daily life?
Here are some importance of flexibility in daily life.
Importance of Flexibility in Daily Life
Description
Improved Range of Motion
Flexibility enhances the ability of joints and muscles to move through their full range, making everyday tasks easier.
Reduced Risk of Injury
Increased flexibility helps prevent injuries by allowing the body to bend and twist more safely during physical activities.
Enhanced Joint Function
Regular stretching improves joint mobility, reducing stiffness and discomfort, particularly in the back and hips.
Better Posture
Flexibility contributes to improved posture, alleviating pain and discomfort associated with poor alignment.
Increased Energy Levels
Stretching and mobility exercises boost circulation and reduce muscle tension, leading to higher energy levels throughout the day.
Stress Relief
Flexibility exercises, such as yoga, promote relaxation and mental clarity, helping to reduce stress and anxiety.
Improved Athletic Performance
For athletes, flexibility enhances performance by increasing agility, coordination, and overall movement efficiency.
Easier Completion of Daily Activities
Flexibility makes simple tasks like bending, reaching, and lifting much easier and more comfortable.
Enhanced Mental Well-being
Regular stretching can improve mood and mental health, contributing to a greater sense of well-being.
Long-term Health Benefits
Flexibility is linked to better overall health, including reduced chronic pain and improved cardiovascular health.